Assignment 1: Blink
"Have you tried turning it off and on again?"
January 15, 2021
This assignment required that I independently manipulate the power supply of at least three pins to produce a blinking pattern in the LEDs. It is an introduction to the world of circuits and required us to apply what we've learned in class about Arduino, fundamental curcuit language, and schematics.
Setting Up the Circuit
Following the in-class activities, I already had three circuits in series that had LEDs attached, so I decided to build and verify the circuit first. We computed the resistor value for each circuit in class, using the 1.8 V drop from the LED and the given supply power of 5+ V as a start. Given that we wanted to shoot under a 30mA current (DC for our LED), we chose to use a 220 Ω resistor to keep our current under 30mA.
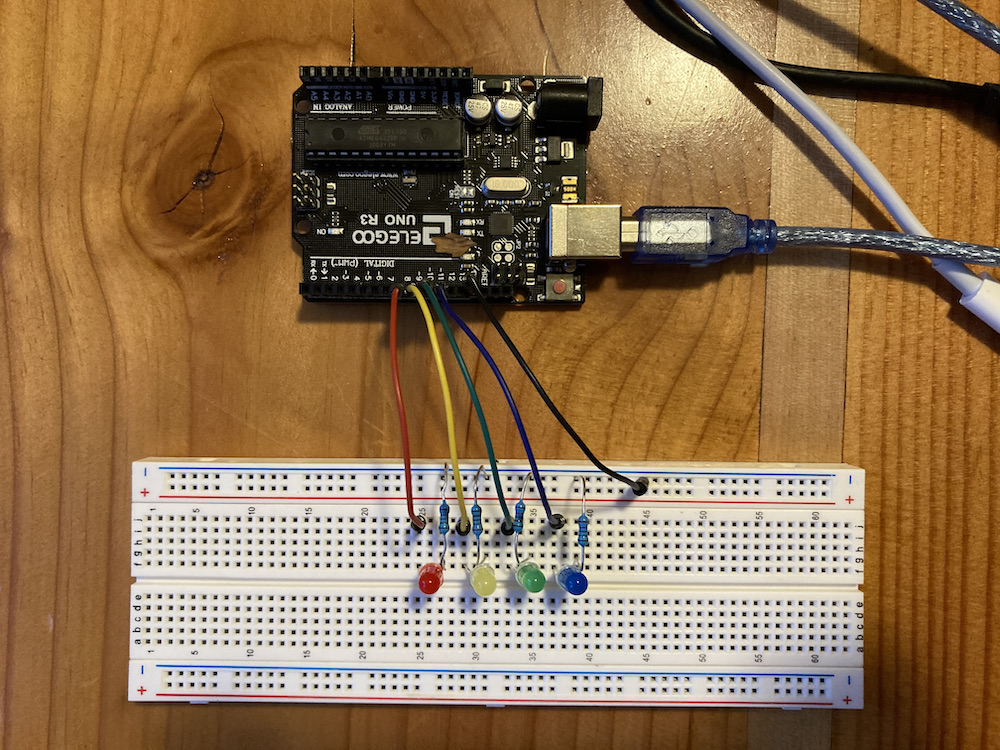
After choosing our resistors, I plugged in the pins as well as set power and ground to make sure that the LEDs would turn on. Below is my resulting configuration:

Now, it was time to reverse engineer the schematic. I think that in the future, it will be wise to start with the schematic first. However, since the in-class acitvity already had a good configuration for the assignment, I already had a solid start on the physical circuit.
From the configuration, I created the following schematic using the figures we generated from the activity:
Coding the Blink Pattern
Now that the circuit was receiving the correct current, I had to configure the blink pattern. I was able to create whatever blink pattern I wanted, and I thought it would be cool to generate a wave-like pattern. this would require looping through a pattern that ascends the order of the pins to turn them on through a timed interval, then cascades back down the order to turn them off. This should result in the desired wave.
Producing the code required a couple of simple for loops, some variables to control the speed and rate of the wave, and for me to initialize the pins. The code is in the Arduino language, which was then loaded onto my microcontroller. Below is the entire program used to create the wave.
const int b_speed = 75; // Controls the speed of blink pattern, in ms
const int b_rate = 1000; // Controls the rate of blink pattern, in ms

void setup() {
    for (int i = 8; i < 12; i++) { // Loops through pins 8–11
        pinMode(i, OUTPUT); // Initializes pin to power
    }
}

void loop() {
    for (int i = 8; i < 12; i++) { // Loops through pins 8–11
        digitalWrite(i, HIGH); // Turns on pin
        delay(b_speed); // Adds 'speed' as a delay
    }

    for (int i = 11; i > 7; i--) { // Loops backwards from pins 11–8
        digitalWrite(i, LOW); // Turns off pin
        delay(b_speed); // Adds 'speed' as a delay
    }

    delay(b_rate); // Adds 'rate' as a delay after loops are done
}
Final Test
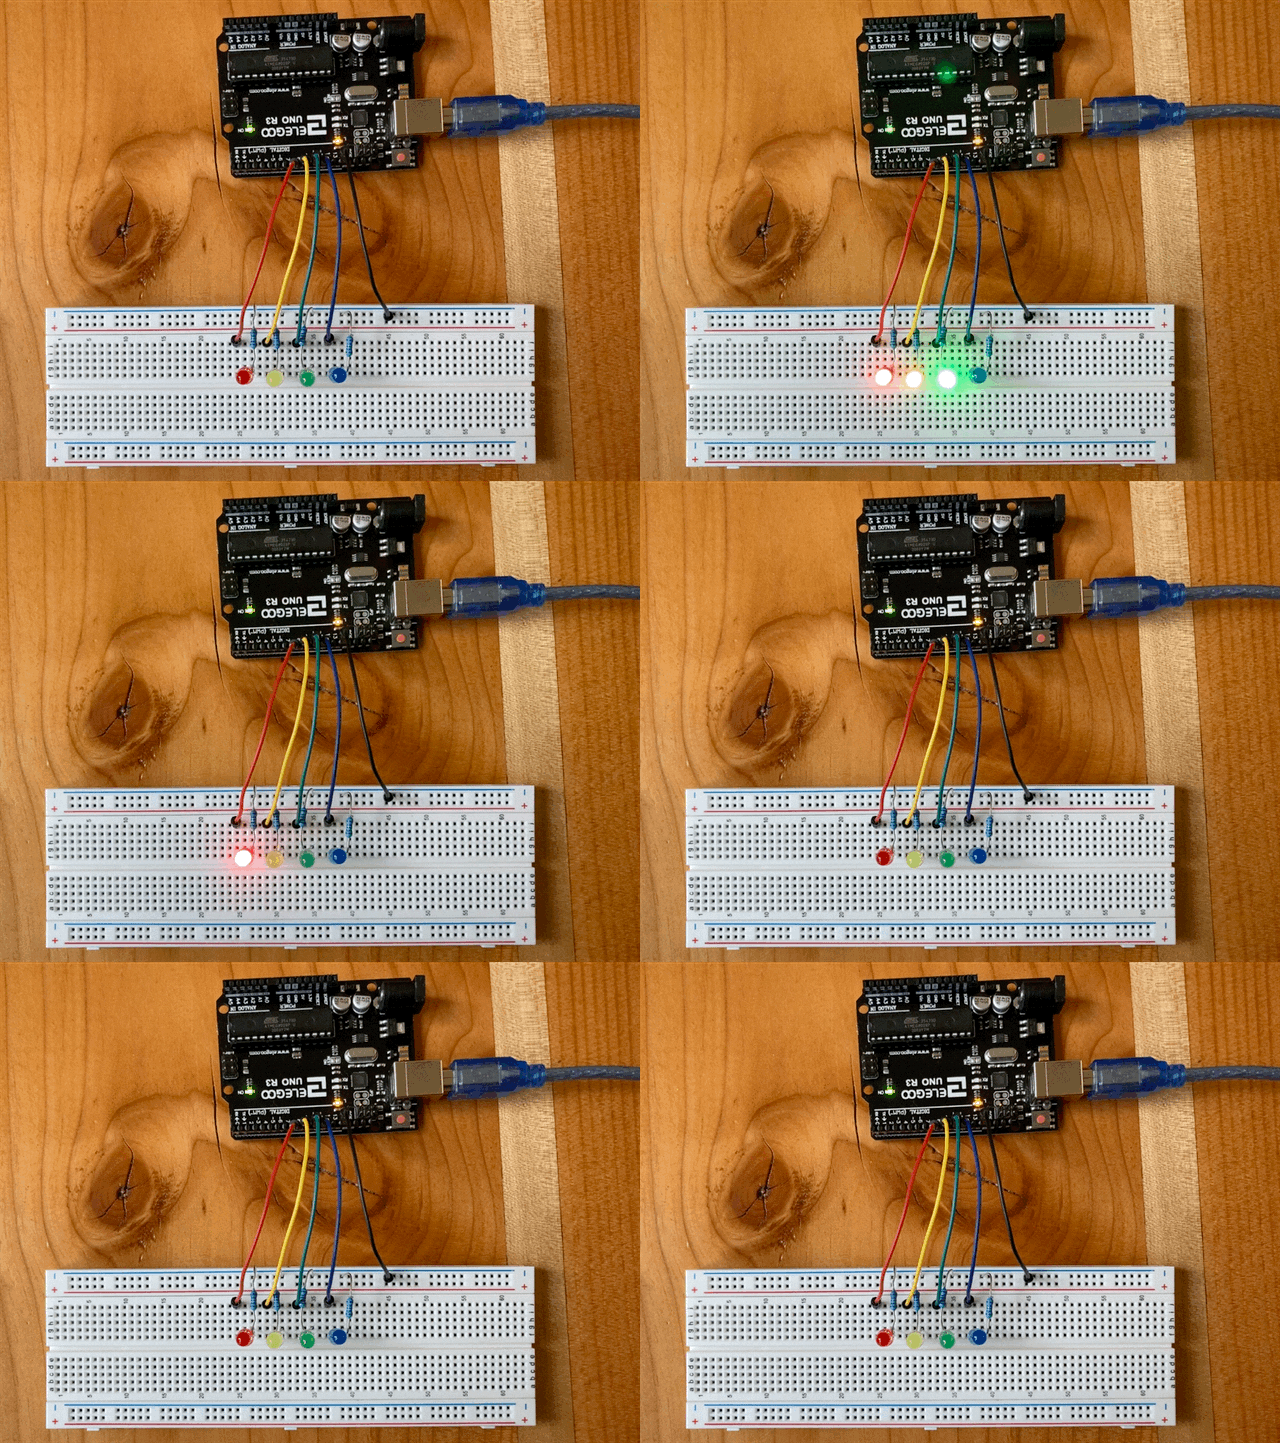
After all of that work, it was time to see if the program actually worked. After loading it successfully onto my Arduino, and...

It worked!! On my initial test, the speed and rate needed to be tweaked for it to look noticeable to the human eye. I found that a speed of 75ms and a rate of 1000ms seemed to produce a satisfying result.
Overall, this was a fun introduction to the world of phsyical computing, and I'm excited to see what comes next!